
Here is a guide I created to stand up an Ubuntu Server to test standing up an Elastic Stack.
- Downloaded the Ubuntu Server iso: https://ubuntu.com/download/server
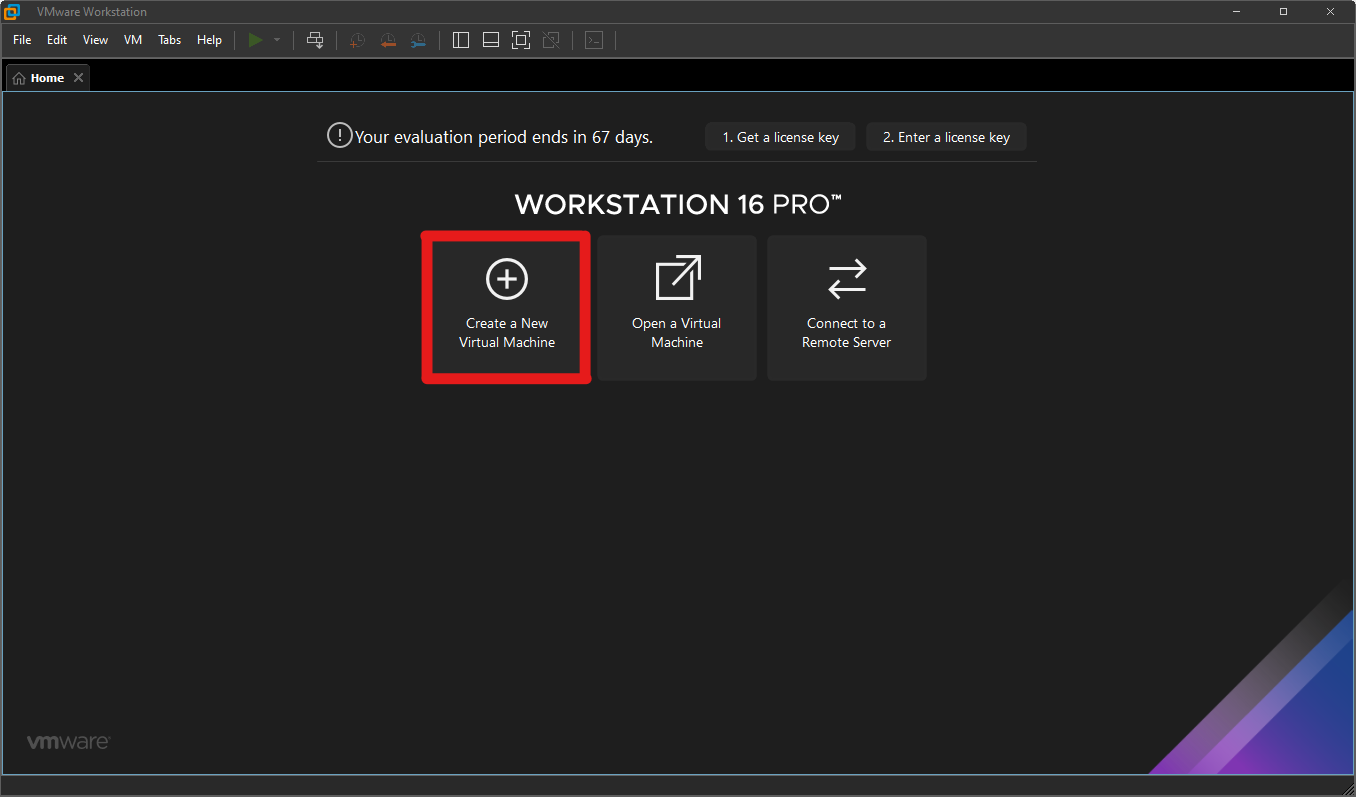
Using VMware Workstation, we “Create a New Virtual Machine”
![]()
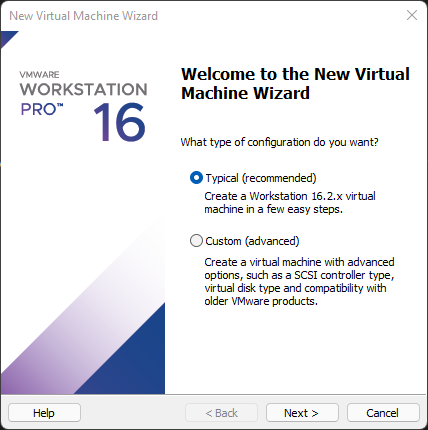
On the Welcome Wizard, choose Typical(recommended) and click Next
![]()
Next select “Installer disc image file (iso)” and browse to the path of the Ubuntu server iso you just downloaded and click Next
![]()
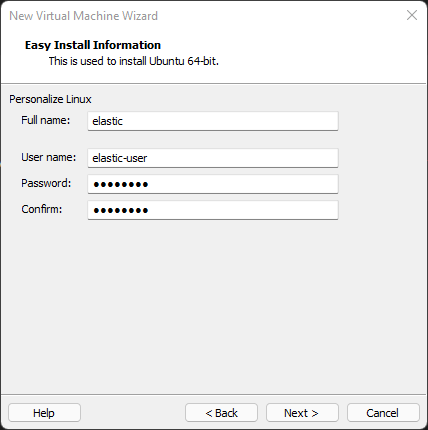
VMware Workstation wants to do an “Easy Install”, but I found I had to input the same information during setup anyways so inputting anything here might be pointless.
![]()
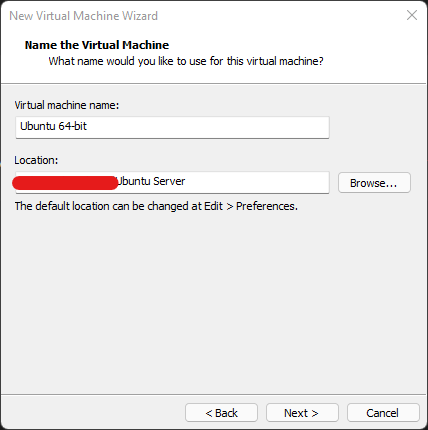
Name the machine and location you’d like to save the VM
![]()
- Just use the defaults selected and click Next
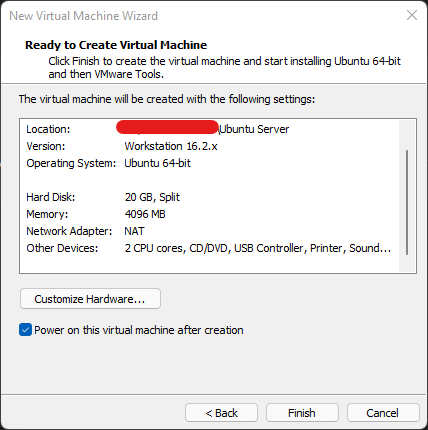
Here, just make sure the Network Adapter is set to NAT. You can adjust the memory or CPUs here too if you’d like. Then click Finish
![]()
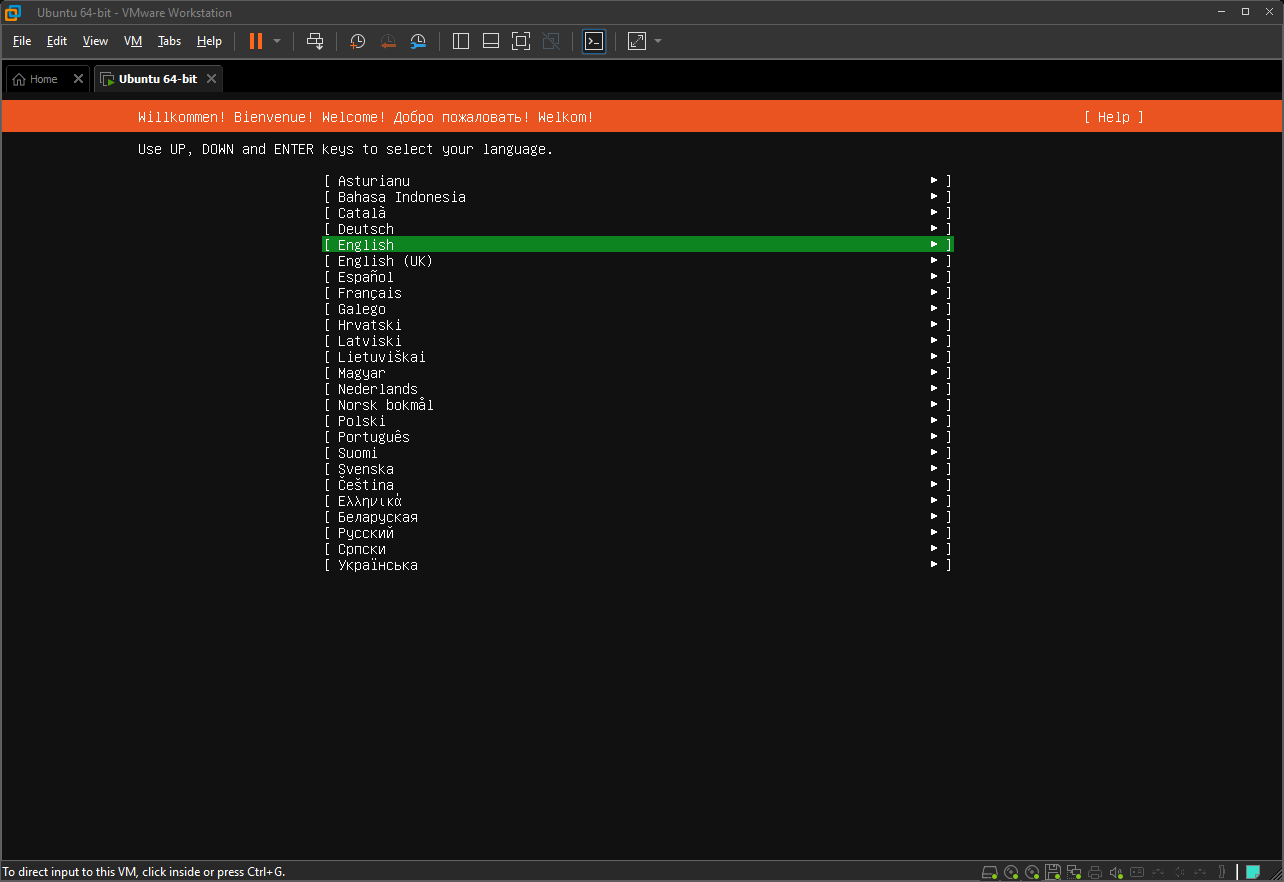
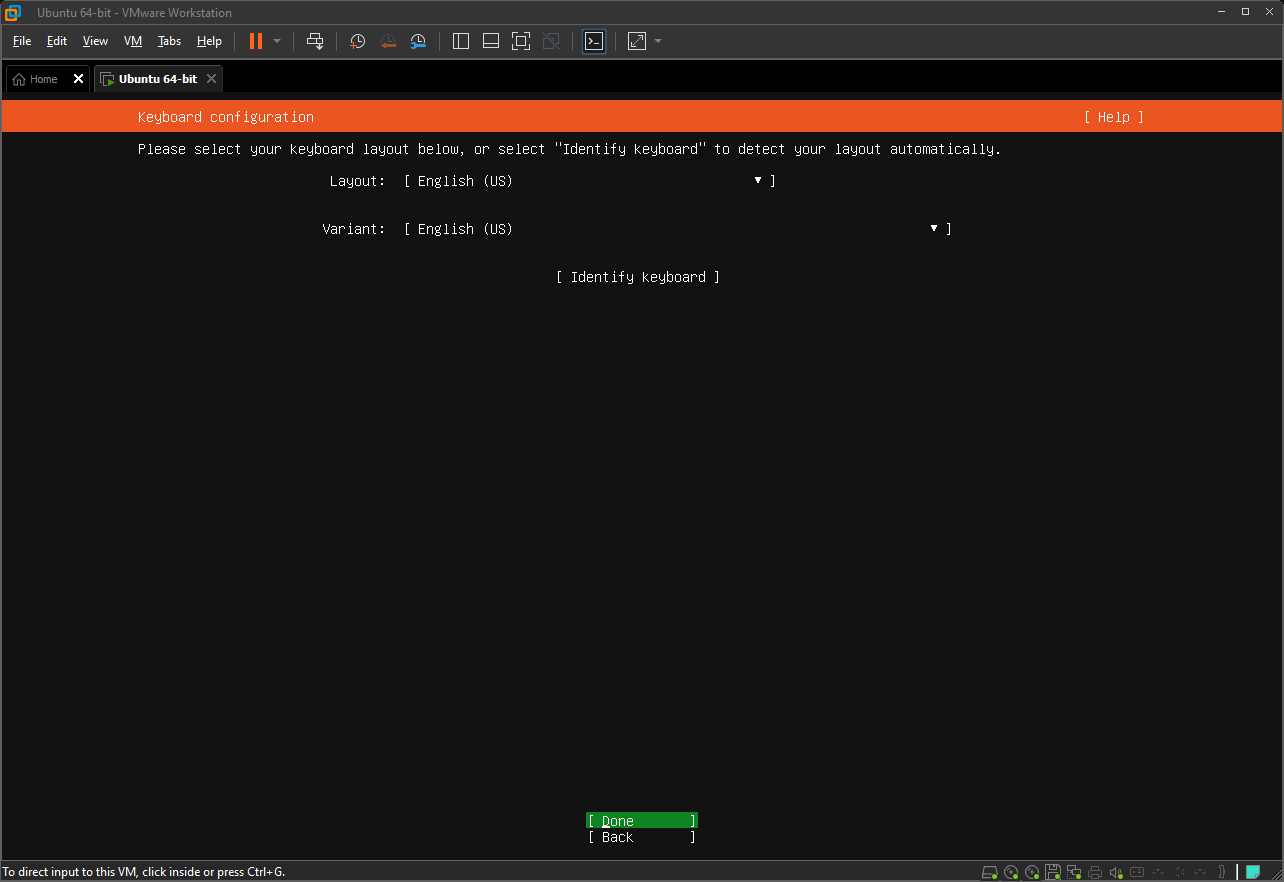
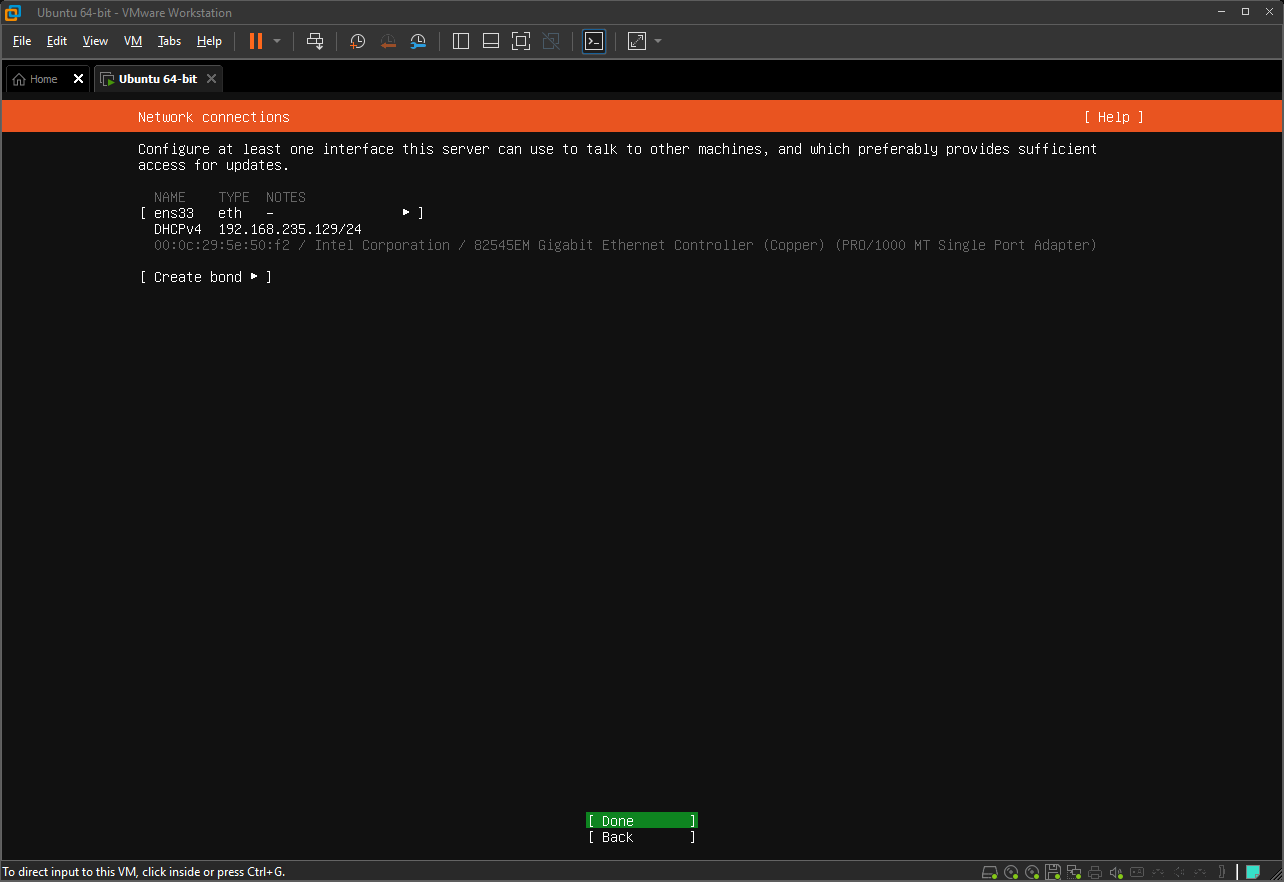
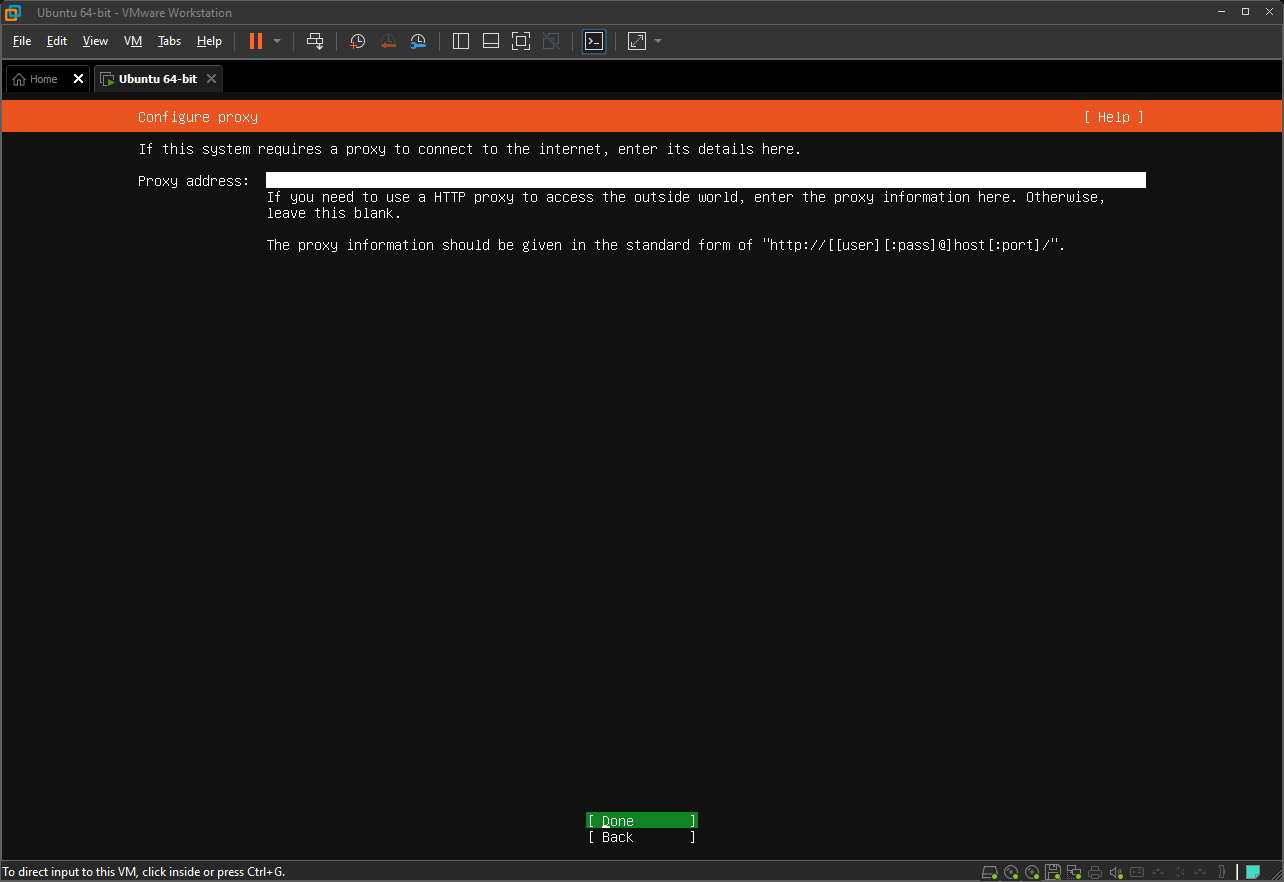
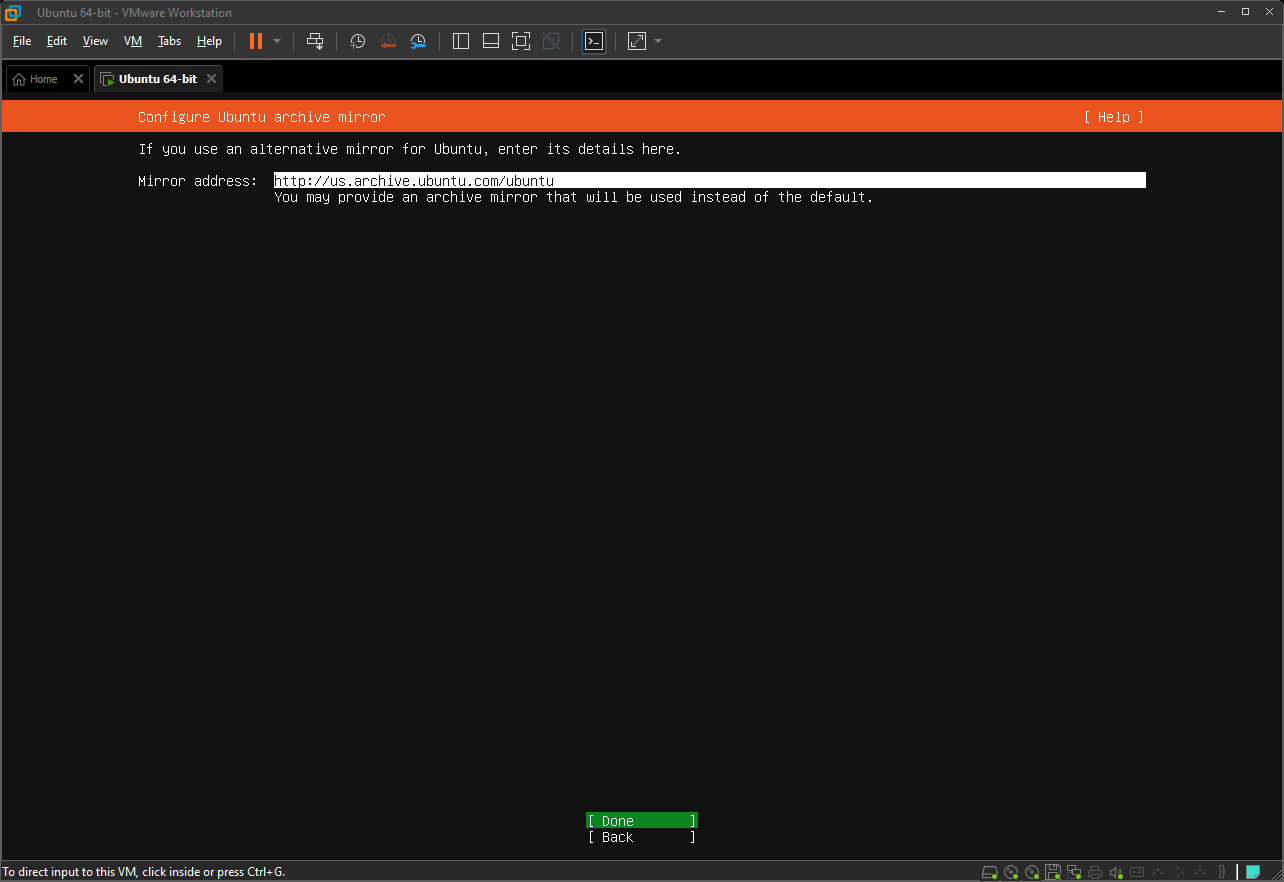
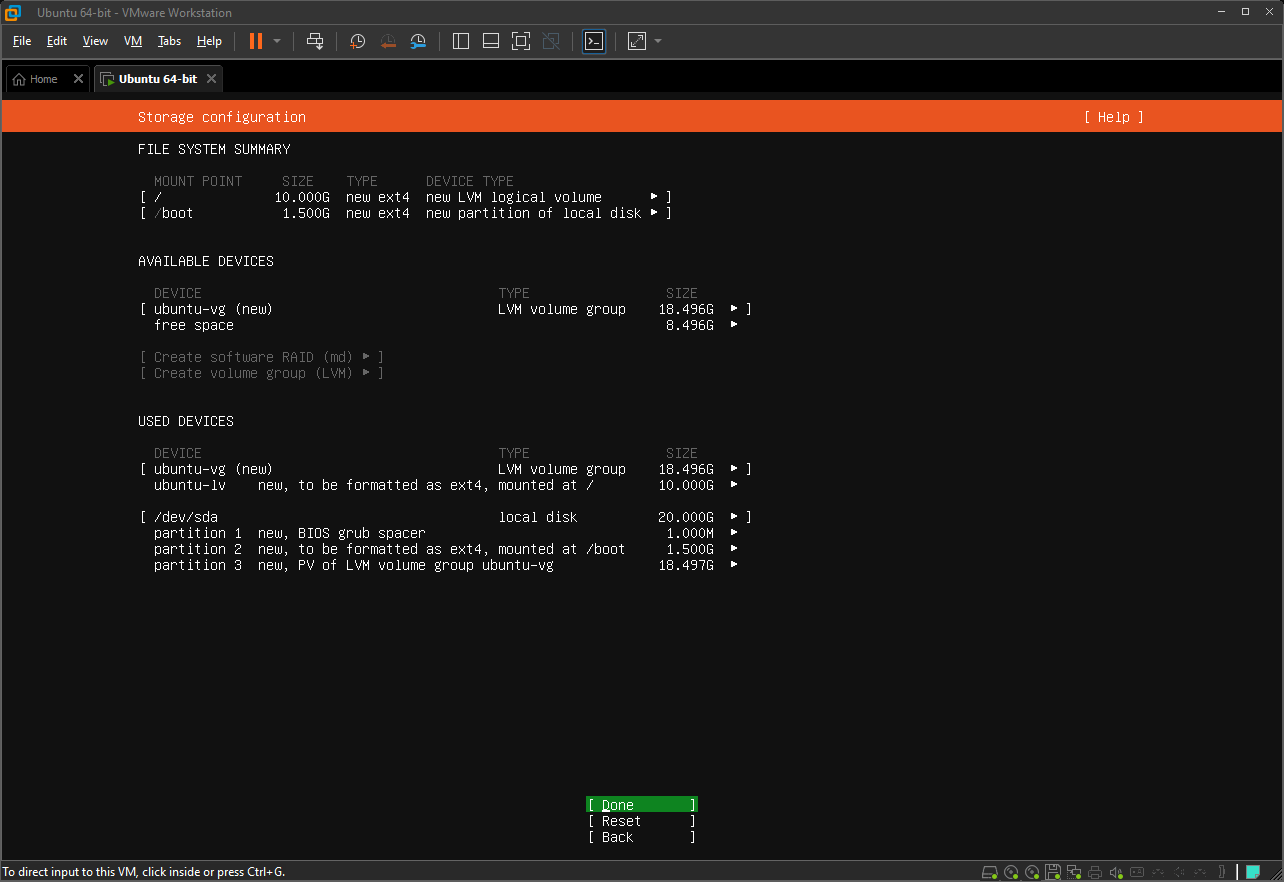
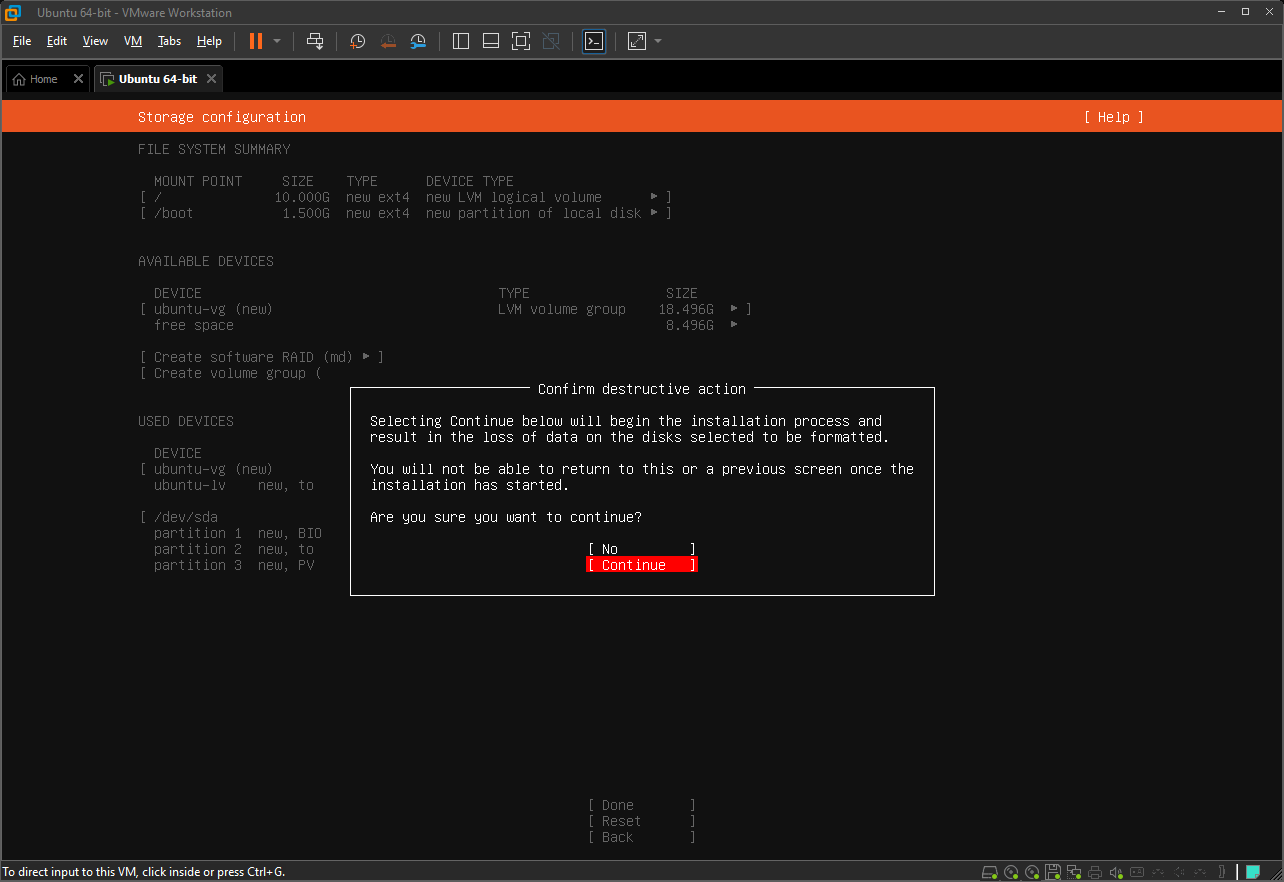
Working through the installation prompts: I pick my language English, I keep the Keyboard Configuration Layout as English (US), keep the default Network connection interface created, leave the
Proxy addressblank, leave theMirror addressalone, keep the storage configuration to what it is, and finally click Done. It will ask if you are sure you want to continue. Cick continue.![]()
![]()
![]()
![]()
![]()
![]()
![]()
![]()
Here’s where the “Easy Setup” wizard should’ve used the information you provided it, but clearly it doesn’t. Perhaps it’s for a normal Ubuntu installation and not for the server install. Anyways just fill in the information again and click Done.
![]()
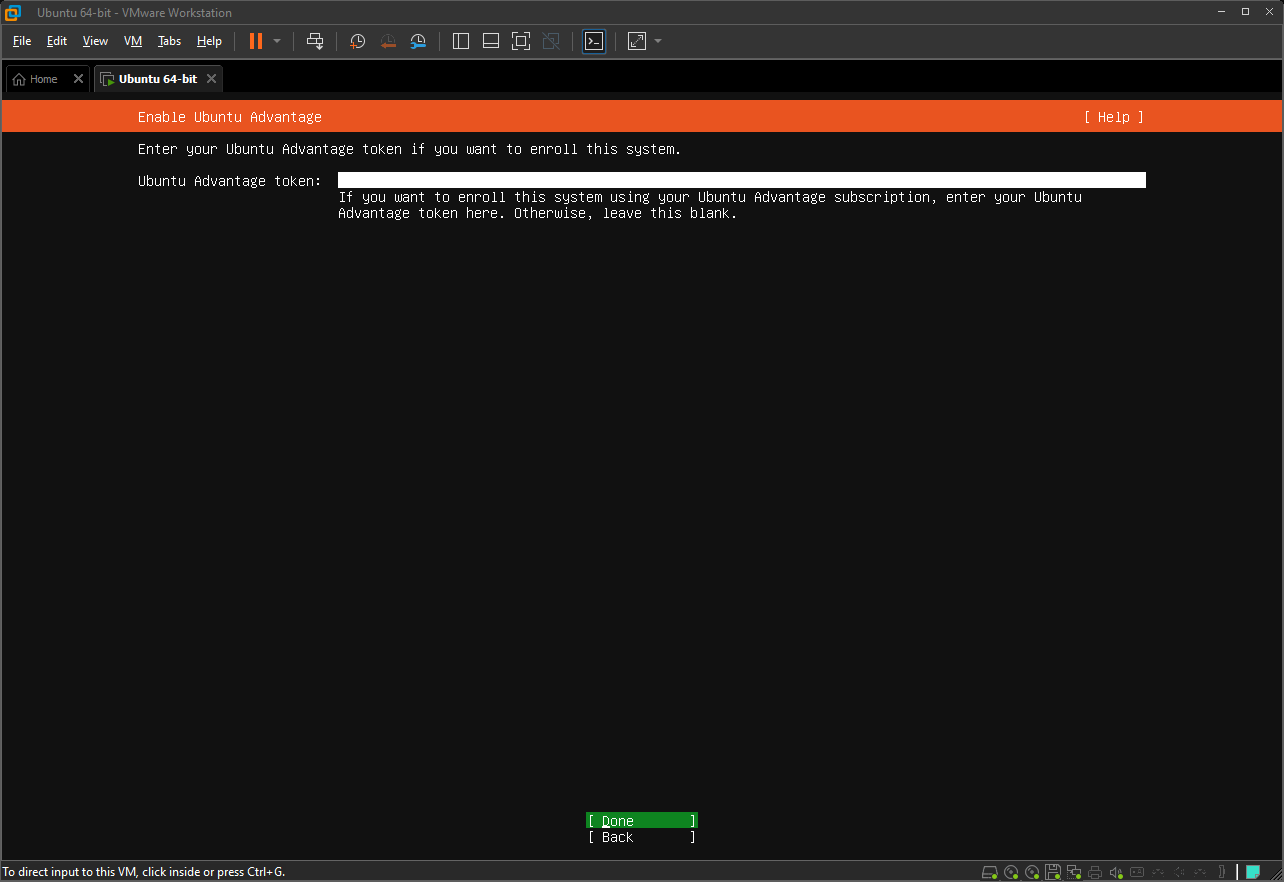
Ignore the Ubuntu Advantage Token. Click Done
![]()
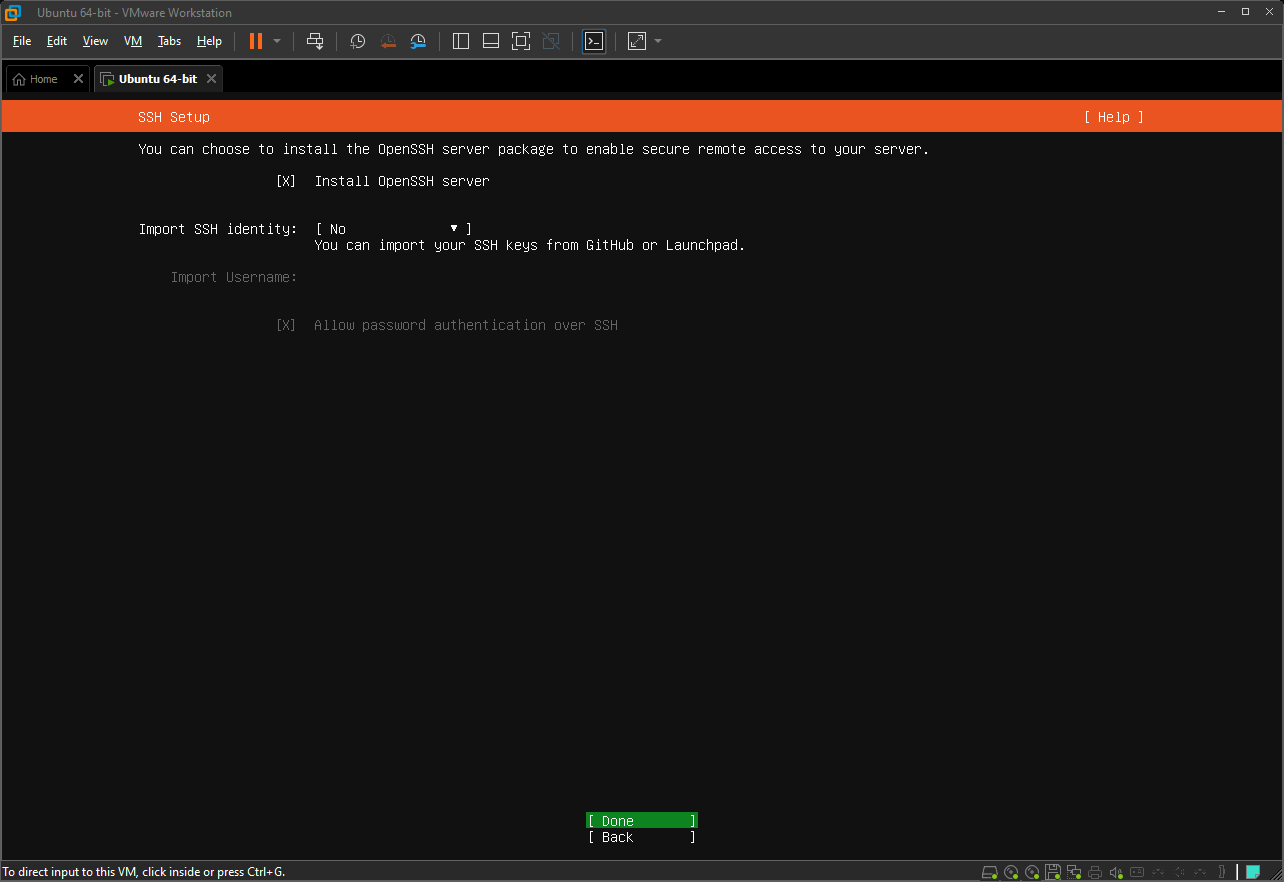
For SSH Setup, I chose to Install OpenSSH server. I’m not worried about using keys here, because I’m just testing this on a VM that’s NAT’d on my home computer.
![]()
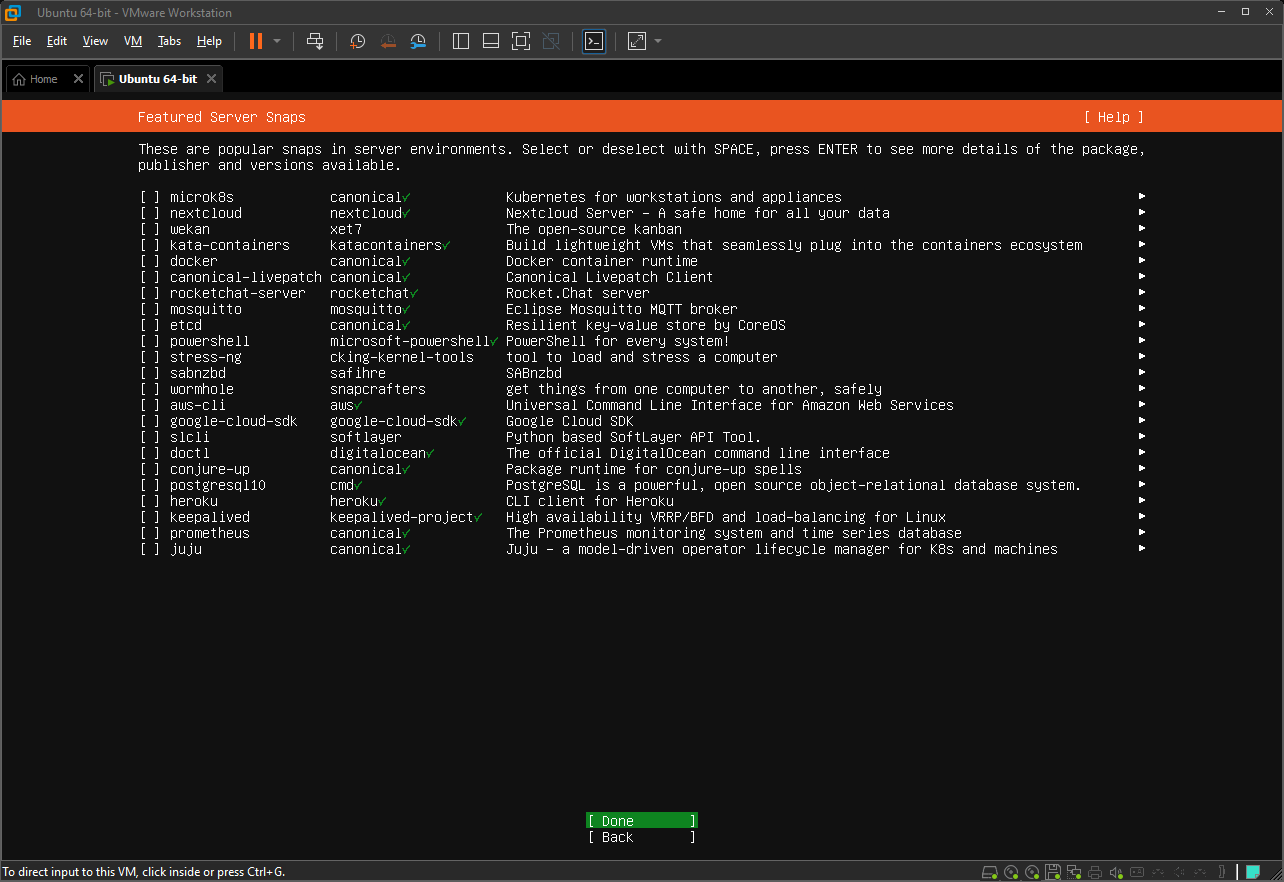
On the next page you can install some popular server snaps. I’m not going to install anything extra now. I’ll worry about that later. Click Done and wait for everything to update. Once the update is finished,
Reboot Nowshould appear whereCancel update and rebootwas. Select Reboot Now and hitEnter![]()
If the reboot seems to have finished, but there isn’t a prompt for login, hit
Enter. Now go ahead and login with the username and password you setup earlier.![]()
Take note of the IP address under System information.
Open up a terminal on your host machine and attempt to SSH to the server using the IP of the server. I’m using WSL on Windows Terminal You should be able to successfully SSH to the VM Ubuntu Server
![]()


Now would be a really good time to take a snapshot of the Ubuntu Server
With this setup, I’m going to setup an Elastic Stack to start pulling in logs from other systems. You can follow along that journey here