
Have you ever wanted to:
- Stand up an instance of a Kali desktop environment in the cloud to perform testing?
- Spin up a Linux desktop environment to bypass workspace restrictions?
- Browse websites anonymously/without attribution?
- Setup an environment to safely monitor/deploy malware for testing?
KASM Workspace is a viable option which streams tools and desktop environments (DE) from Docker containers to your browser. There are some limitations though. Each container defaults to 2 CPUs and 2768MB of memory, so if you want to deploy this for a small team, you would need a sizable instance. Plus there is a max of 5 concurrent sessions for the free community edition.
But if you just need a quick Kali or other Linux deployment, I have a solution that uses TigerVNC and NoVNC to get you up in running with no additional client tools needed.
Deploy Kali in your Account
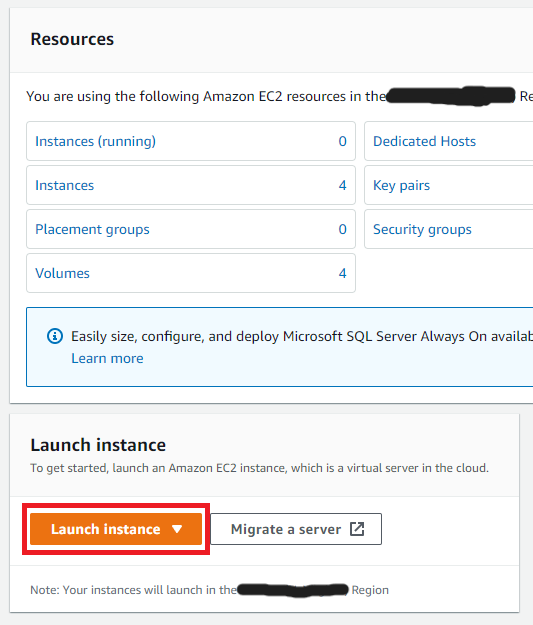
- To start off, login to your AWS account and navigate to the EC2 Dashboard. Then click
Launch Instanceright below theResourcesfield.
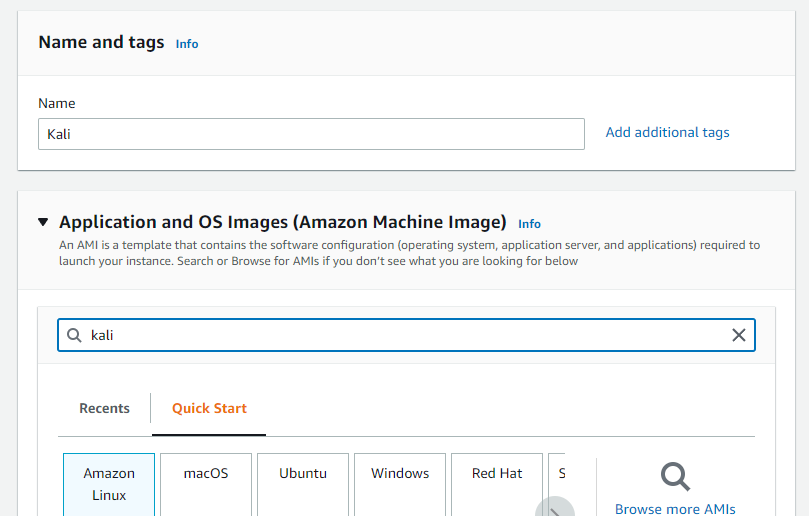
Call the instance whatever you’d like under
Names and tags. I’ll just call mineKaliUnder
Applications and OS Images (Amazon Machine Image), typekaliin the search bar and hit Enter
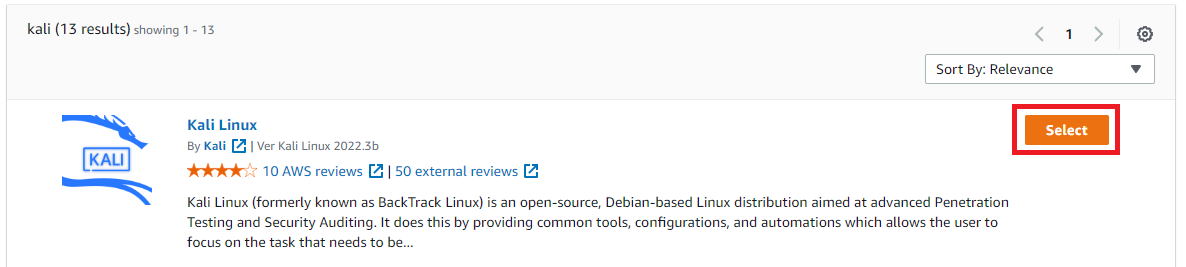
- The first result should be the official Kali AMI from the AWS Marketplace. Go ahead and select it. There will be a pop-up next. Just hit
Continuewhen it does.
Keep the
Instance Typeas a t2.medium.Under
Key pair (login)select a key pair you have. If you do not have one, click onCreate new key pairUnder
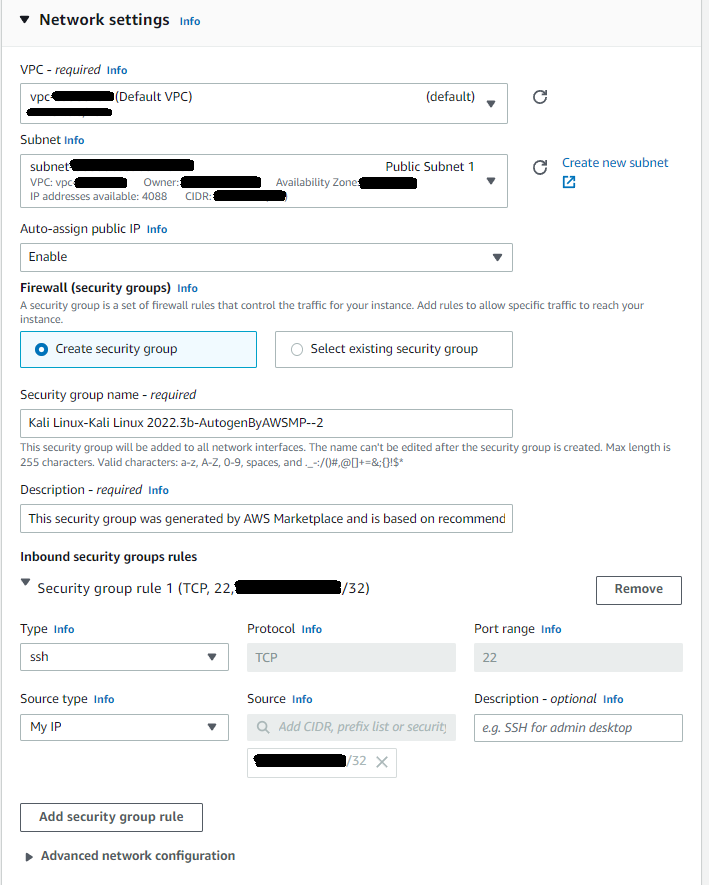
Network settings, make sure you are deploying this in a public subnet so you can access and have an IP automatically assigned to your instance. If you need to edit your subnet, clickEditin the upper-right corner of theNetwork settingsboxUnder
Firewall (security groups), you can select select an existing security group that only allows SSH from your IP, else just create one and allow SSH only from your IP
Finally, give yourself a little bit more storage. I usually bump it to 25 GiB.
Once everything is filled in, click
Launch Instance
Install the Tools
It might take a couple of minutes for the instance to be ready, but once it is SSH into your instance with this command:
1
ssh -i <path/to/private_key.pem> -L 8081:localhost:8081 kali@<instance ip>
We are going to go ahead and local forward all port 8081 traffic from our computer to the instance on localhost:8081. Once you enter the command, you should be logged in to your Kali instance.
There isn’t much to look at here, so we need to give it a desktop environment, some Kali tools, a VNC server, and finally noVNC. We’ll grab the latest package versions from the repos and download the necessary tools:
1
2
sudo apt update
sudo DEBIAN_FRONTEND=noninteractive apt install -y kali-linux-default kali-desktop-xfce tigervnc-standalone-server novnc
The
DEBIAN_FRONTEND=noninteractiveis added to skip certain installation prompts. It’s also nice when you want to script this out and not have the script break from the prompting. Thekali-linux-defaultinstalls the core set of Kali tools.
This will take several minutes to complete.
Setup the Environment
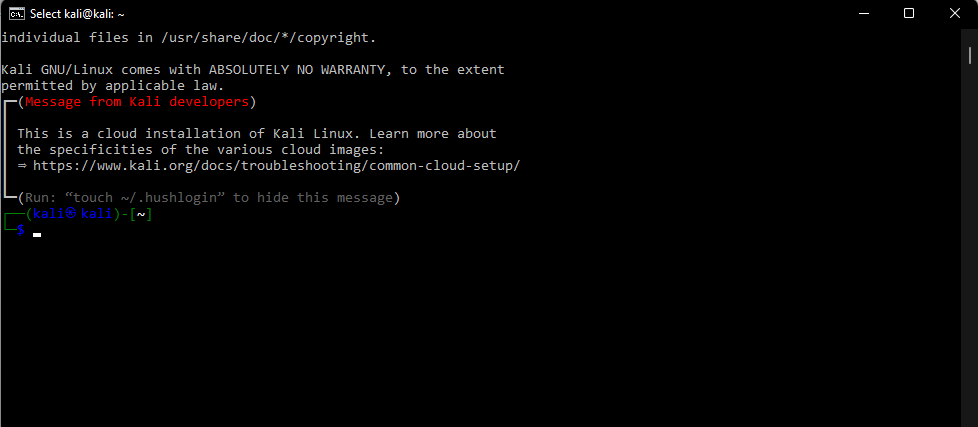
Once finished, go ahead and set your VNC password and verify it. We’re not worried about a view-only password.
1
2
3
4
5
6
┌──(kali㉿kali)-[~]
└─$ vncpasswd
Password:
Verify:
Would you like to enter a view-only password (y/n)? n
A view-only password is not used
Then we’ll need to create a file needed for VNC. If it doesn’t exist, it gets a little upset. It doesn’t need to have anything in it, so we can just:
1
touch ~/.Xresources
Start the Services
Now we’ll start the two services. First is TigerVNC:
1
tigervncserver -xstartup /usr/bin/xfce4-session -localhost
This will start the VNC server and expose the VNC port on the localhost.
Finally we’ll start noVNC:
1
websockify -D --web /usr/share/novnc/ 8081 localhost:5901
This will expose port 8081 on the host. Being as how this is on an instance with a security group only allowing SSH traffic from your IP, it’s not a big deal. If you are deploying this in your home lab and would like to only expose this port to localhost and not have to deal with iptables, change websockify -D --web /usr/share/novnc/ 8081 localhost:5901 to websockify -D --web /usr/share/novnc/ localhost:8081 localhost:5901
Profit
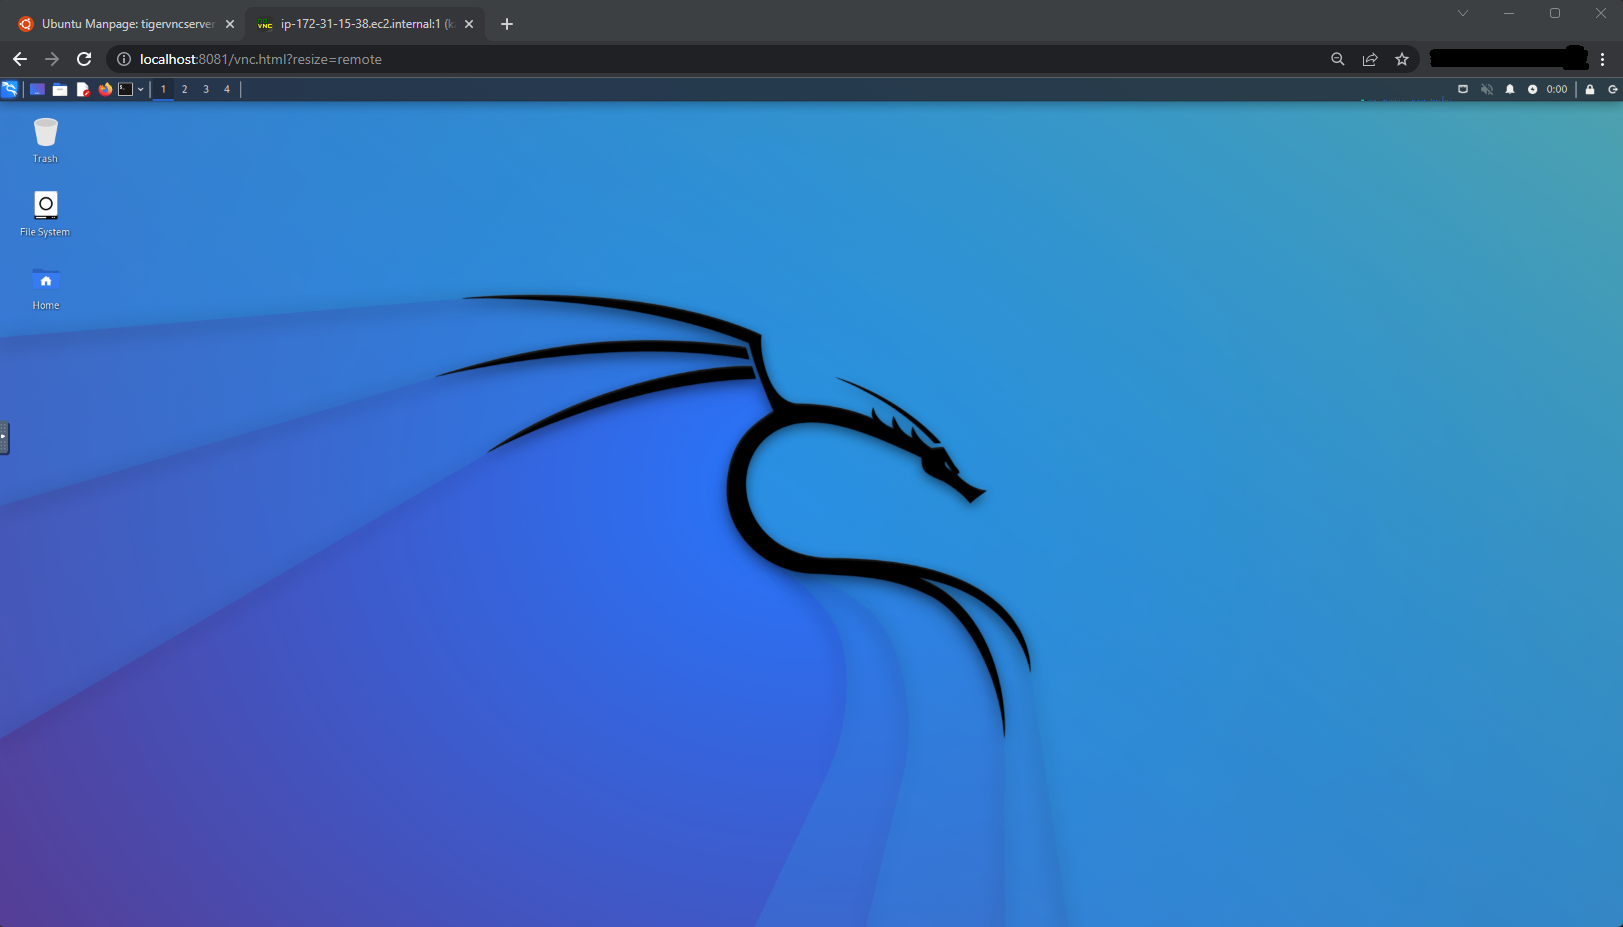
Now just go to your browser and type:
1
http://localhost:8081/vnc.html?resize=remote
The resize=remote will make the screen automatically resize based on your dimensions of your browser. Click on Connect and you’ll be prompted for the VNC password you created.
A Quick Script
I scripted this process out to generate the necessary files, create a random password for the VNC server, and display the required URL to access the desktop environment. To setup:
- Create the script file:
1
vim script.sh
- Add the following contents:
1
2
3
4
5
6
7
8
9
10
11
12
13
14
#!/bin/bash

mypasswd=$(strings /dev/urandom | grep -o '[[:alnum:]]' | head -n 30 | tr -d '\n'; echo)

sudo apt update
sudo DEBIAN_FRONTEND=noninteractive apt install -y kali-linux-default kali-desktop-xfce tigervnc-standalone-server novnc
umask 0077
mkdir -p "$HOME/.vnc"
chmod go-rwx "$HOME/.vnc"
vncpasswd -f <<< "$mypasswd" > "$HOME/.vnc/passwd"
touch ~/.Xresources
tigervncserver -xstartup /usr/bin/xfce4-session -localhost
websockify -D --web /usr/share/novnc/ localhost:8081 localhost:5901
printf "\nhttp://localhost:8081/vnc.html?resize=remote&password=${mypasswd}\n\n"
- Make the script executable:
1
chmod +x script.sh - Run the script:
1
./script.sh
After-Thoughts
- You can provide self-signed certs to give websockify TLS support. websockify - github
- Once everything is setup on Kali how you like (ie. configuring kali tools), create your own AMI based off of the instance. Then, you’ll never have to worry about setting everything up again, and you can just deploy an instance with that custom AMI. AWS Doc
- You could create a CloudFormation or Terraform script to spin something like this up automatically whenever you need it.
- This can be done on other flavors of Linux. The one I’ve found for Ubuntu utilizes an
xstartupfile. This site shows how you can setup VNC with different Desktop Environments for Ubuntu. When you create thexstartupfile, you can ignore using the--xstartupflag in thetigervncservercommand.- Sidenote: If you want to use Firefox in Ubuntu with VNC, follow this guide to remove Firefox from the snap store and install Firefox from the apt repository [ link ].
- If you have a high definition display, the
resize=remotemight make it hard to view the contents of the desktop. On the left sidebar you can clickSettings→Scaling Mode: Local Scaling, then change the resolution on the virtual desktop. It’s not great, but it works.